Table of contents
Skip table of contentsIf you want to be kept up to date with new articles, CSS resources and tools, join our newsletter.
Sharing in-progress work, pointing out a bug, or clarifying which area you're talking about: as a developer you're sharing screenshots all the time.
In Polypane, we've made it easy to capture different types of screenshots of your website so you always share just what you need. And with our screenshot editor you can easily annotate, crop, redact, and more.
Types of screenshots
Polypane has five types of screenshots you can take:
- Viewport: a screenshot of the currently visible part of the page.
- full-page: a screenshot of the entire page, from top to bottom.
- Element: a screenshot of a specific element on the page.
- Measured: an area of the page defined by you, to capture a specific section.
- Overview of all panes: a screenshot of all panes' viewports in Polypane.
Depending on what you want to share or show, you can choose the type of screenshot that fits best.
Taking a screenshot of a single pane
Viewport, full-page, element and measured screenshots are available for all panes in Polypane.
To take a screenshot, click the screenshot button in the top right of the pane you want to take a screenshot of. This will open a menu with the different screenshot options. Then click the type of screenshot you want to take.
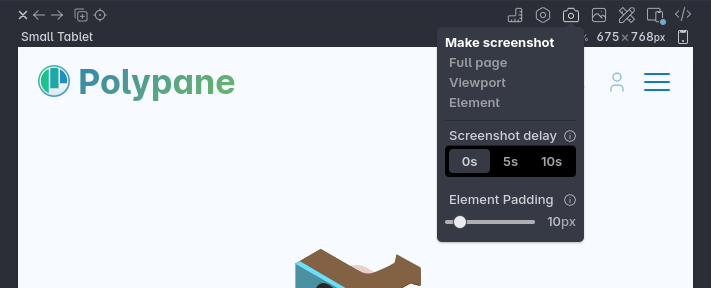
Below the types of screenshots there are two settings you can adjust:
- Screenshot delay: How long Polypane should wait before taking a screenshot: 0, 5 or 10 seconds. This will let you get your page in the right state before taking the screenshot, for example to show a hover-only menu, or to start an animation at the right time.
- Element Padding: The amount of padding around the element you're taking a screenshot of, so you can show more context around the element. The slider goes from 0 to 100 pixels in increments of 5, but you can also type in a specific value.
Viewport screenshots
Viewport screenshots take a screenshot of the visible part of the page, so exactly what you see in the pane.
This is the fastest way to take a screenshot and is great for sharing how something looks on a specific device, or when you want to show a specific part of the page.
Full-page screenshots
full-page screenshots take a screenshot of the entire page, from top to bottom. This is great if you need to check the entire page against a design, or if you want to share the entire page with someone or use it as an illustration.
Since pages can change depending on the height of the viewport, but also depending on how far you've scrolled, Polypane takes a short while to generate a full-page screenshot. This is so we can accurately create a full-page screenshot that matches what you see as you scroll down the page. The result is a highly accurate full-page screenshot, especially compared to how other browsers handle them.
Element screenshots
Element screenshots take a screenshot of a specific element on the page. This is great if you want to show a specific part of the page, or if you want to show a specific element in more detail.
Screenshot padding
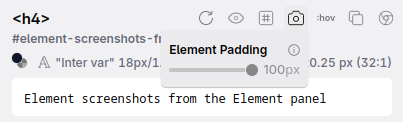
Frequently you'll want to make a screenshot that's slightly larger than the element itself, so you have a better idea of the context of the element. In Polypane, you can configure how far around the element you want to capture with the padding setting.
The padding setting is in pixels and goes from 0 to 100 pixels in increments of 5, but you can also type in a specific value. This gives you control over how much context you want to show.
Element screenshots from the Element panel
When you've selected a specific element in the Elements panel, you can also take a screenshot of that element directly from the Elements panel by clicking the camera icon in the navigator.

You can right-click the icon to set the padding for the screenshot.
Measured area screenshots
When using the measure tool in Polypane to measure a specific area, the "Measured" option in the screenshot dropdown becomes available. This option takes a screenshot of the area defined by the measure tool, so you are not limited to the DOM structure of what you want to screenshot.
Taking screenshots of multiple panes
The easiest way to screenshot all panes at once is to use the overview screenshot, available by clicking the camera icon in the address bar. This will take a screenshot of all panes in Polypane and place them in a single image, so you can easily share your entire setup.
You can also right-click the icon to configure the screenshot delay, or to make screenshots of all panes one by one, either the viewports or full pages.
Overview screenshot
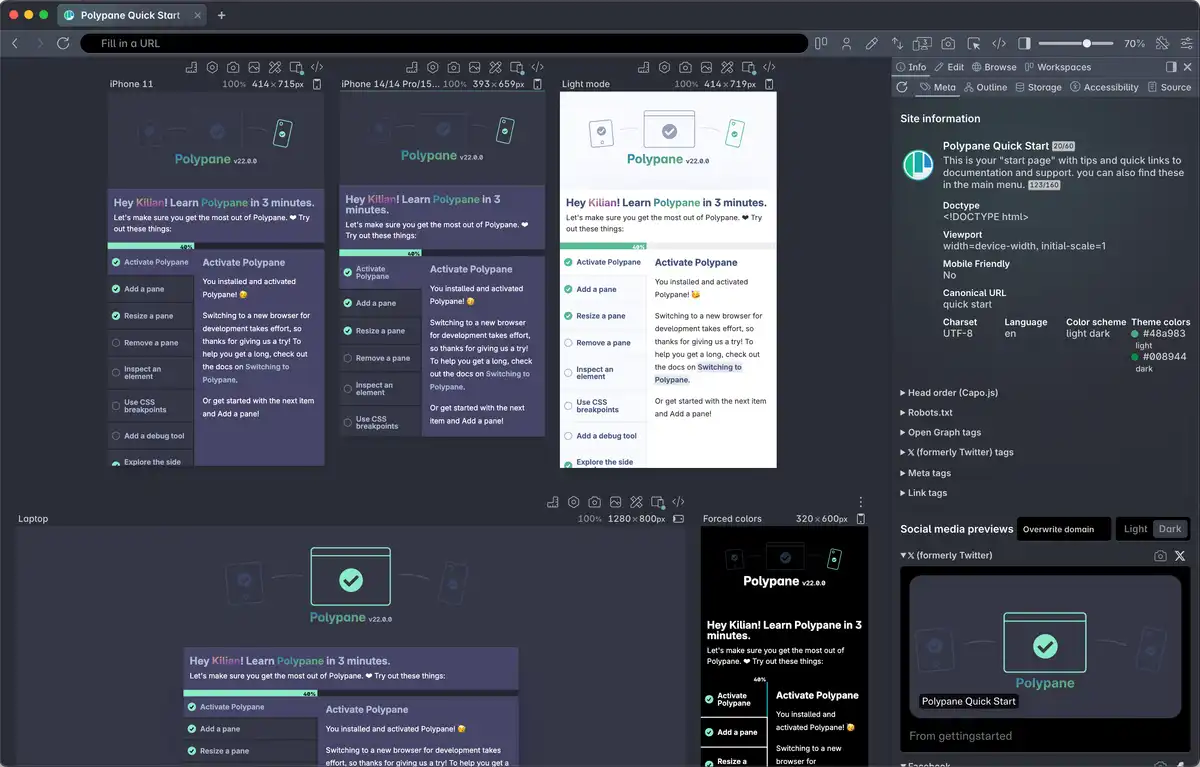
The overview screenshot creates a single image with all panes in Polypane along with their title and dimensions, so you can easily share your entire setup. This is great for showing how a page looks on multiple devices, or for showing how a page looks in different viewports. You can also use it to show how a page looks in different modes, like dark mode or high contrast mode.
With the screenshot delay option in the right-click menu you can set a delay of 0, 5 or 10 seconds, so you can get your pages in the right state before taking the screenshot.
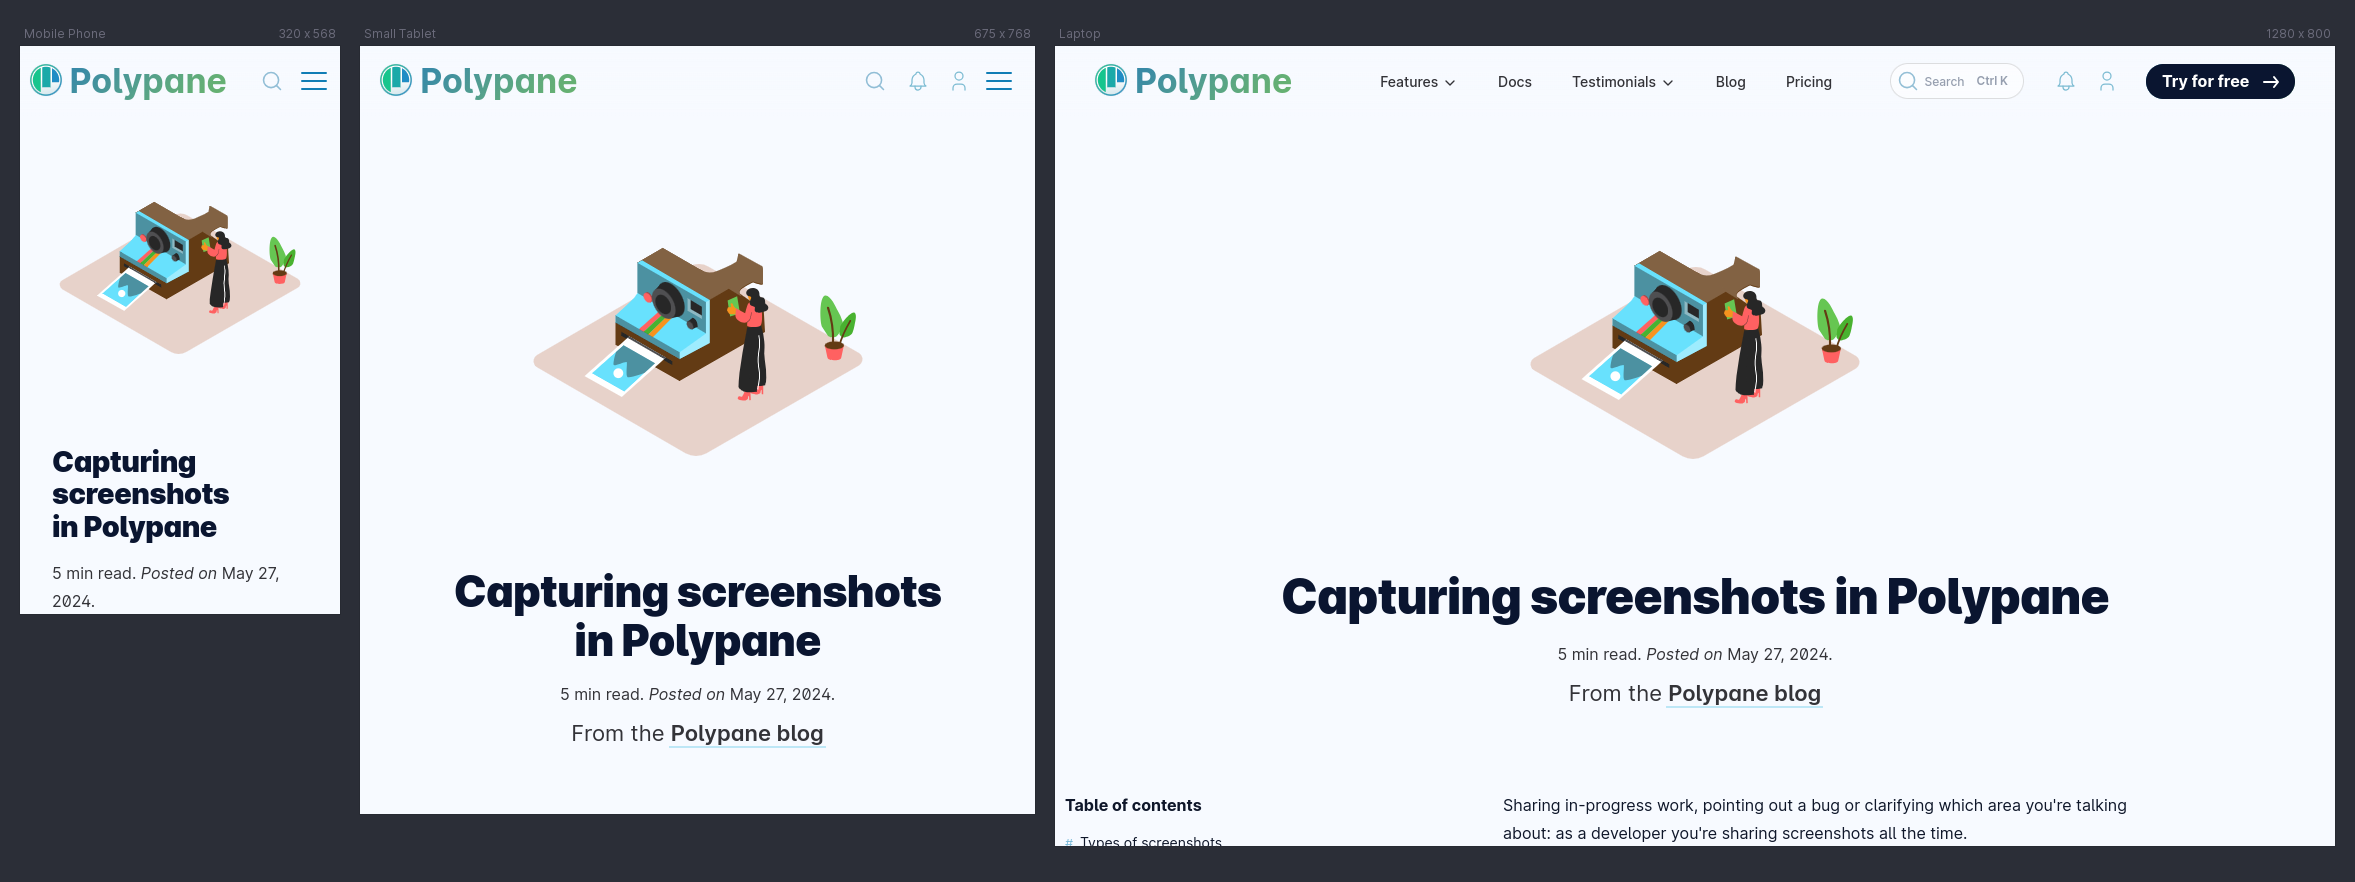
Save all viewports
Right-click the camera icon in the address bar and select "All viewports" to take a screenshot of all panes in Polypane. This will save a screenshot of each pane in a separate file, so you can easily share them individually. Once the screenshots are taken, a save dialog is shown that lets you pick where to save the screenshots.
Save all full-page
Right-click the camera icon in the address bar and select "All full-page" to take a full-page screenshot of all panes in Polypane. This will save a full-page screenshot of each pane in a separate file, so you can easily share them individually. Once the screenshots are taken, a save dialog is shown that lets you pick where to save the screenshots.
Both of these options are very useful if you need to save references for later, or if you need to share multiple screenshots at once.
Screenshot editor
Once you've taken a screenshot, Polypane opens the screenshot editor where you can annotate, crop, redact and more. Our screenshot editor is built with Pintura, a fully featured image editor that makes it easy to make the changes you need.
Annotations
Adding text, emoji, arrows or boxes to your screenshot is a great way to highlight specific areas or explain what you're showing. You can change the color, size and style of the annotations to fit your needs.
Cropping
If you want to focus on a specific part of the screenshot, you can crop the image to only show that part.
Redacting
If you need to hide sensitive information, you can redact parts of the screenshot. You can choose between a solid color or a blur effect, and you can adjust the size and shape of the redaction.
This is great if you need to censor personal information in a bug report. The redact feature uses randomization to make sure the redacted area is not reversible.
Saving and copying
Once you're happy with your screenshot, you can save it to disk or copy it to the clipboard. Save will save the image in the last used folder, while 'save as...' lets you pick a specific folder.
You can save the image as a PNG (default), JPEG or PDF file. Images copied to the clipboard can be pasted into Slack, Microsoft teams, documents etc.

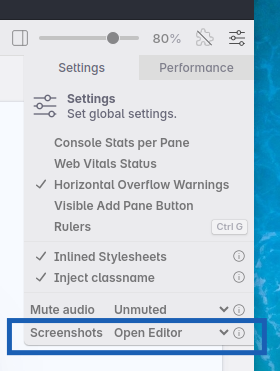
Default action for screenshots
Use the global settings to configure what you want to happen when creating a screenshot: open the screenshot editor or skip it and directly save the screenshot to disk or copy it to the clipboard.
Using a screenshot as a reference image
A great use case for screenshots is to use them as reference images. Make a screenshot of an existing page or design, and then use that as a reference image in Polypane. This way you can refactor your design while making sure that changes don't break the layout.
For a complete overview of all the screenshotting and screenshot editing capabilities in Polypane, check out the documentation.
Try it for yourself
Taking screenshots in Polypane is easy and fast, and with the screenshot editor you can easily make the changes you need before sharing them with your team or clients. Give it a try and let us know what you think! Polypane is available with a 14 day free trial. Start a trial now.