Documentation
Learn how Polypane improves your workflow
Pane sizes
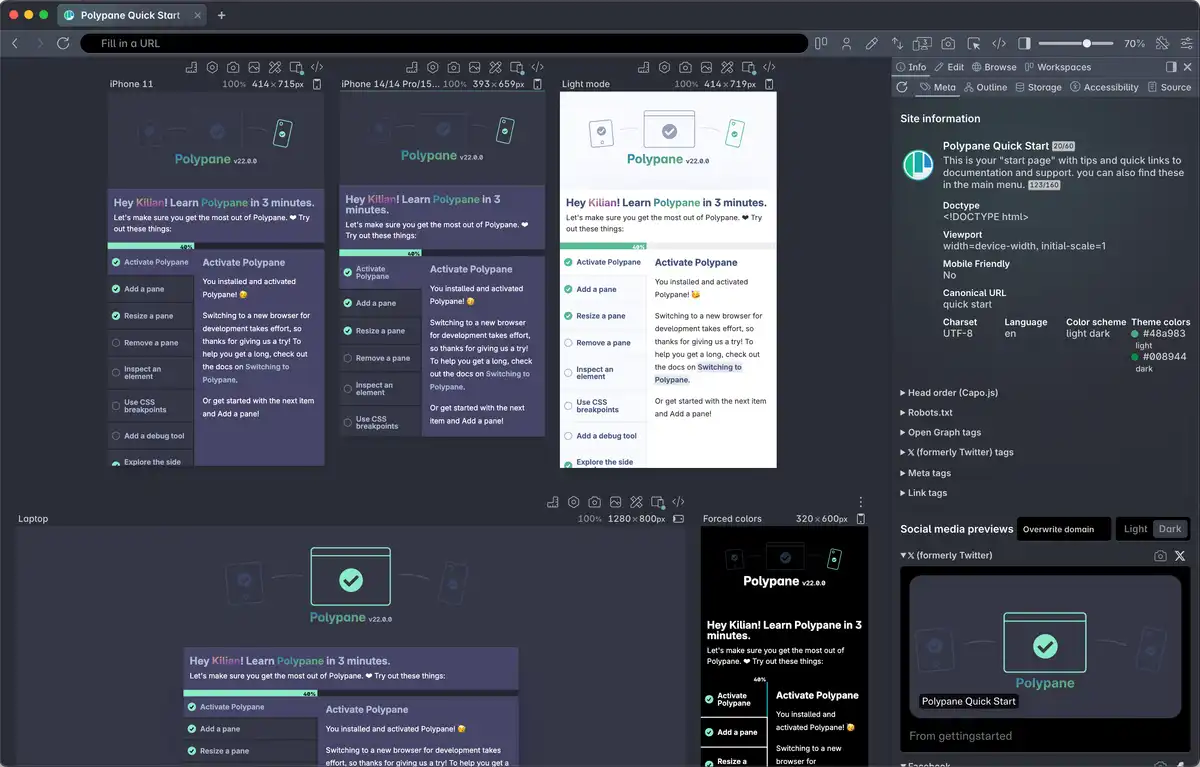
There are a number of different ways to set the size of panes and you are free to use whichever method works best for you: dragging to resize, selecting device preset, using your CSS breakpoints, switching between workspaces or manually filling in values.
Resizing panes manually
There are two ways to set a pane size manually: You can type new values in the header above each pane or resize a pane by dragging the bottom or right edge of a pane.

When editing the sizes in the header you can also change them with the arrow keys. When using the arrow keys, the pane size will be updated in real-time.
Arrow up and down will change by 1, holding ⇧ will change by 10, holding ⌘ will change by 100 and holding ⌥ will change the value by 0.1 (useful when panes are sized in EMs). These shortcuts also work when scrolling.
If you've typed a value or accidentally cleared the input, press Esc to revert to the current value.
When hovering over the bottom or right edge of a pane, your cursor will change and a draggable bar will appear by which you can drag to resize the pane, either horizontally or vertically. In the bottom right corner a curved bar will appear that lets you resize both dimensions at once.
When resizing, hold ⇧ to maintain a pane's aspect ratio and hold ⌘ to scale a pane instead of resizingf it.
In horizontal mode you can double click on the resize bar at the bottom of the pane to make it fill to the available height.
Randomly resizing all panes
Press ⇧ ⌘ n to resize all panes randomly. This is ideal to do some quick stress-testing of your styling.
Using Device Presets
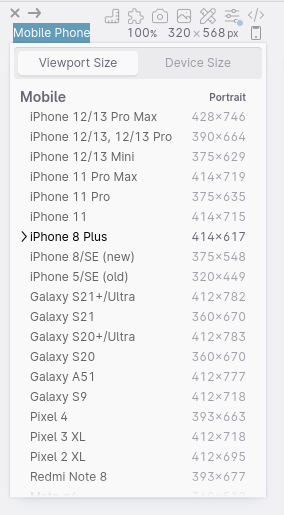
With the title of a pane selected, an overlay will appear with a list of common devices. These device presets contain full device emulation settings, and can be set to the viewport size (inside a mobile browser) or device size (full pixel dimension). You can find more details on how the device presets work here: device presets.
Using workspaces
You can use the workspaces in the Workspace panel to replace your current set of panes (or append the workspace to the currently list of panes).
Zooming panes

To the left of the pane dimensions is a percentage value that lets you zoom out an individual pane (to zoom out all panes, use the global zoom). This is useful for when you want to see a pane that's larger than your own screen, or when you need to work on a small screen that you want to make larger so you can more easily see it.
Double clicking this value will automatically zoom the pane so the given height fits the viewport. While interacting with the zoom percentage you can use the arrow keys to increase and decrease by 1 and hold ⇧, ⌘ and ⌥ to increase/decrease by 10, 100 and 0.1 respectively (just like for the pane dimensions). If you've typed a value or accidentally cleared the input, press Esc to revert to the current value.
Rotating panes
To rotate a pane (to go from portrait to landscape or the other way around), hover over the pane header to show the rotate icon (a device either in lanscape or portrait, depending on the pane's dimensions) Click it to rotate the pane.
You can only rotate panes that have both a width and a height defined.
To rotate all panes, press ⌘ ⌥ r or go to the view menu and click "Rotate all panes".
Using ems instead of pixels
Pane sizes can be set in pixels or in ems and to switch between them you can click px in the top right corner of a pane to switch to sizing in em, and click again to switch back. Switching to ems will also update the rulers and are particularly nice if you also use ems for your media queries.

Have a question about Polypane?
Reach out via (real human) chat, Slack or our contact form:
Contact SupportBuild the way you already build, without missing anything.
Free 14 day trial, no credit card needed.
- 1 Create your account. Takes a minute.
- 2 Download the app. For Windows, Mac & Linux.
- 3 Build your next project with Polypane